Start and prove
1. Start the VM
On the host:
qm start 100
qm status 100
status: running
Open Console (noVNC). Wait for the HAOS banner. Note the IPv4 address if shown.
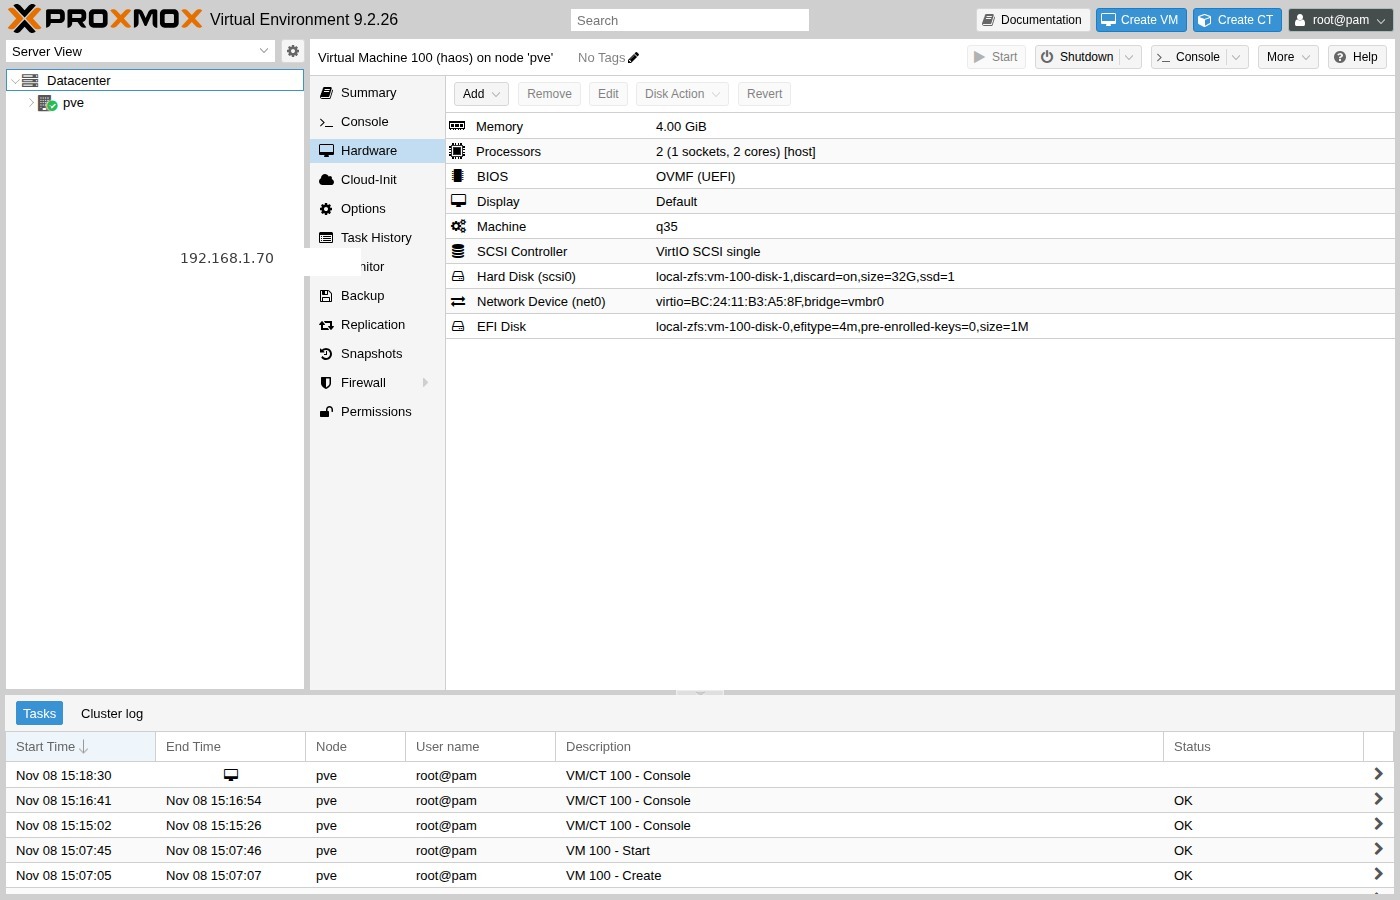
2. Guest agent and IP
When the agent is up:
qm agent 100 network-get-interfaces
[
   {
      "name" : "enp6s18",
      "ip-addresses" : [
         {
            "ip-address" : "192.168.1.70",
            "ip-address-type" : "ipv4",
            "prefix" : 24
         }
      ]
   }
]
Your address will differ. Prefer mDNS (homeassistant.local) when it works on
your LAN.
DHCP reservation
HAOS uses DHCP by default. Reserve the MAC on your router so the IP stays stable. Static addressing inside HAOS is out of scope here.
3. Reach the UI
From the workstation. First boot can show a preparing screen for up to about 20 minutes.
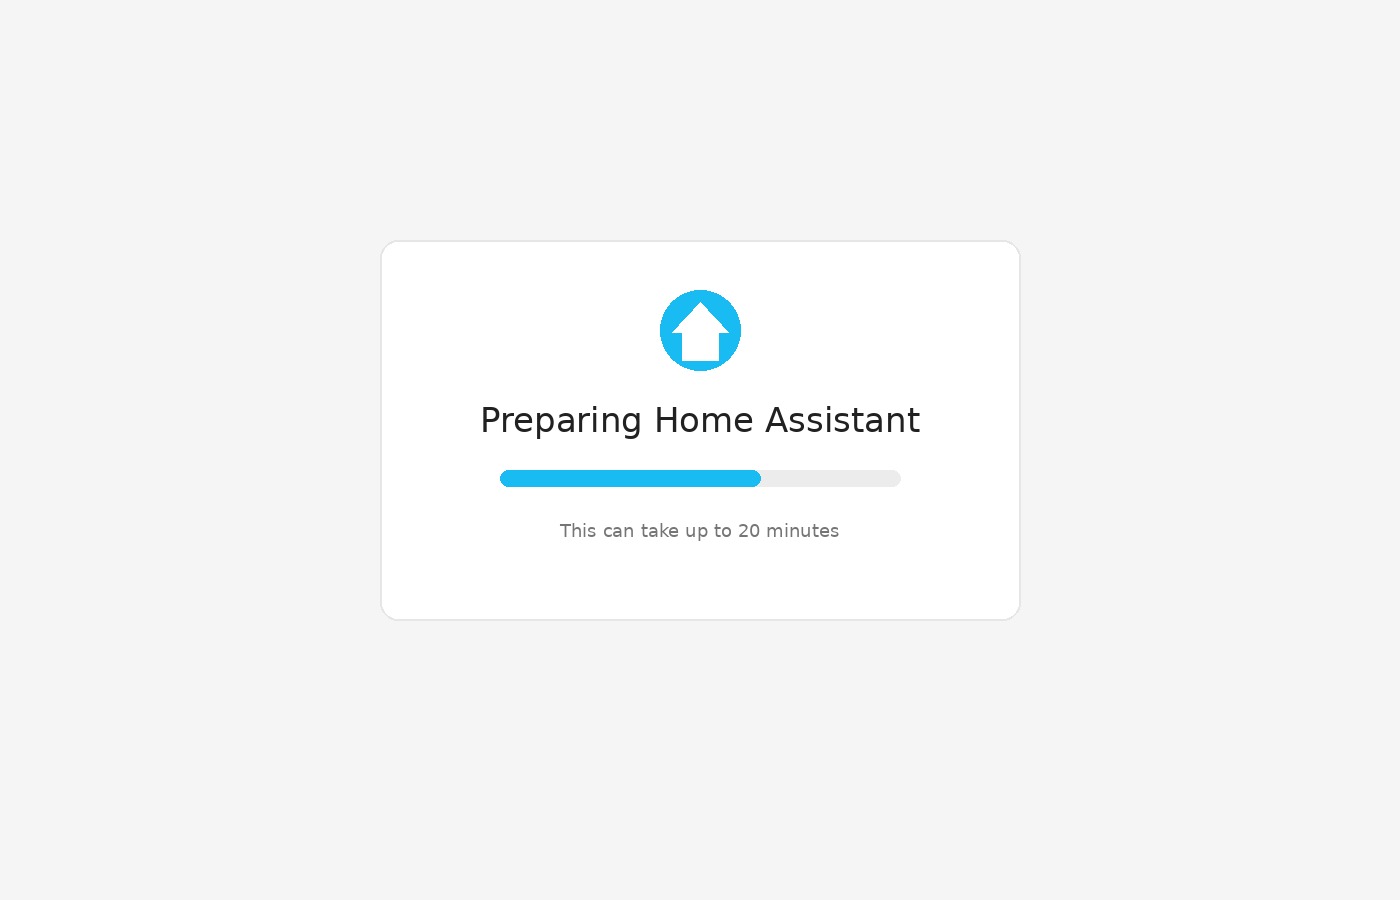
Then prove HTTP. Port 8123 may redirect to port 80:
curl -sS -o /dev/null -w "%{http_code} %{redirect_url}\n" \
  http://192.168.1.70:8123/
302 http://192.168.1.70/
Open http://homeassistant.local:8123/ or http://<guest-ip>:8123/ and wait
for the welcome screen.
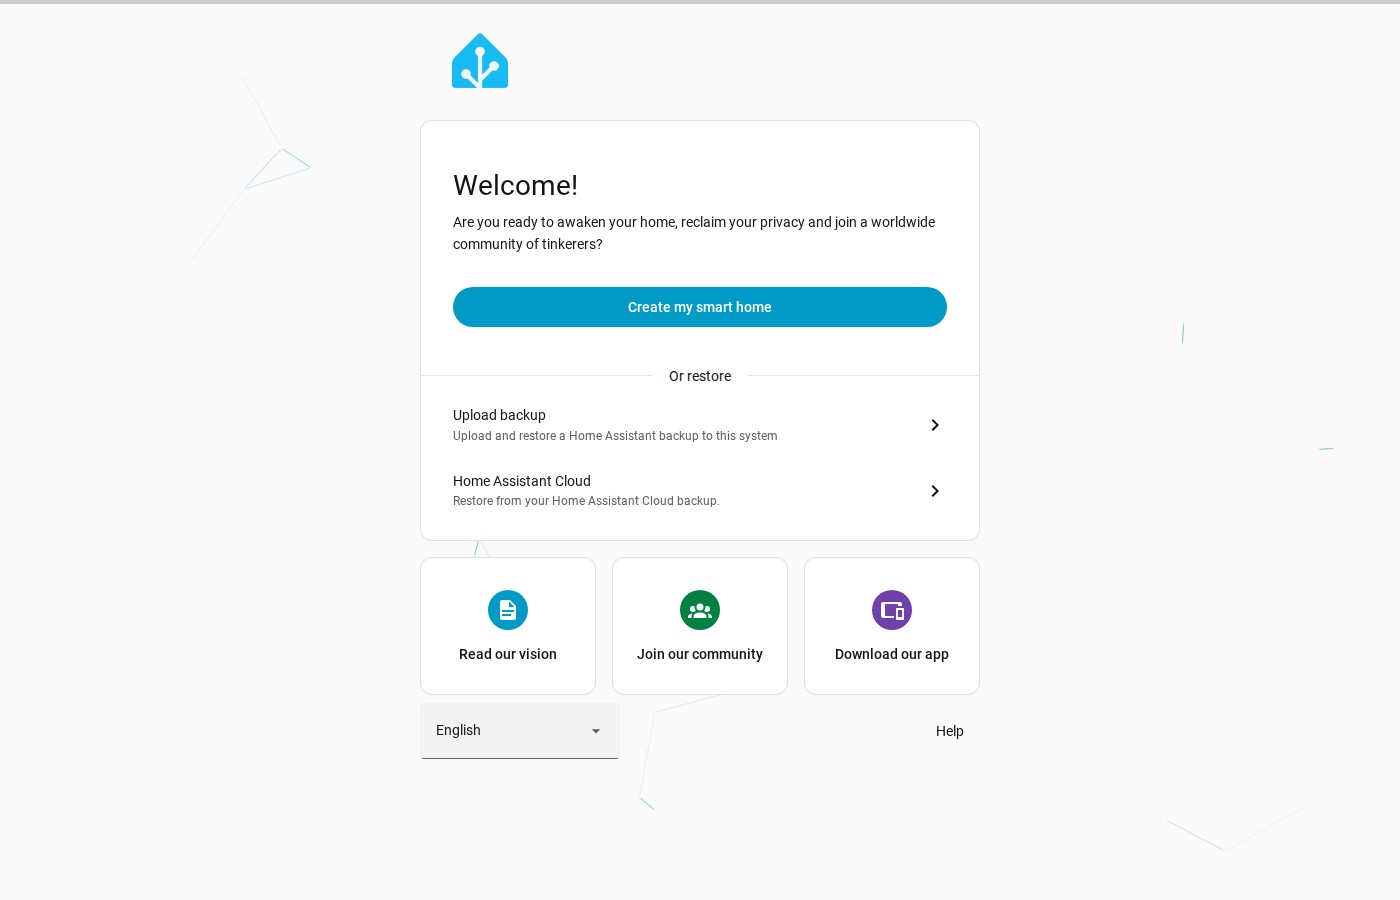
Stop here. Account creation and integrations belong in consuming labs — see Onboarding.
USB Zigbee / Z-Wave
Hardware → Add → USB Device, then pick the dongle by vendor/device ID (or bus/port). Restart the VM after attaching. Details: USB devices in VMs.
Consuming labs
Keep HA_HOST and credentials in that project’s env file. Never commit
passwords or API tokens.
Done
You have HAOS running on Proxmox with the onboarding UI reachable. Something wrong? See Troubleshooting.